Treatment of extreme wall dampness is the process of finding and fixing serious moisture problems inside walls before they cause lasting damage. It often involves checking for water sources, drying out the area, repairing affected parts, and putting steps in place to stop the problem from coming back.
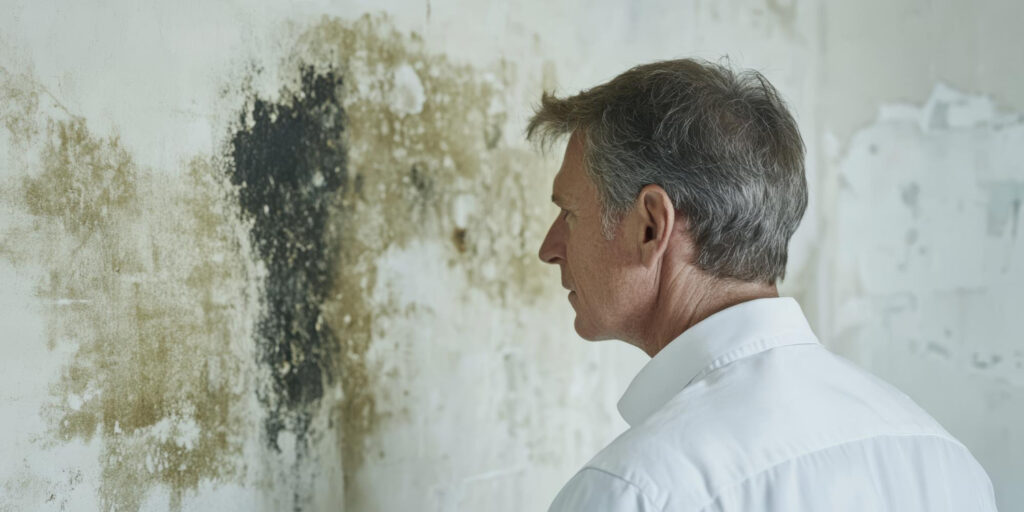
If you’ve spotted peeling paint, black spots, wet patches, or a musty smell, your home may already have extreme wall dampness. Many people search online to find out what to do next. The short answer is: act fast. Once damp spreads through your walls, it can lead to mould, damage to plaster, rotting timber, and even health problems.
In Cheltenham and other parts of the UK, damp is a common issue due to older buildings, heavy rain, and poor ventilation. Knowing what to do early can stop a small problem turning into a large and expensive one.
This guide covers five simple but important steps you can take right now to deal with extreme wall dampness. These steps are based on what professional damp surveyors do every day, and they’re made to help you spot the cause, fix the damage, and protect your home in the future.
We’ll also explain the questions most people ask, like:
- What causes damp to get so bad?
- Can it spread to other walls?
- Do I need a professional?
- How long will treatment take?
By the end of this guide, you’ll know exactly what steps to take and who to contact for real help.
Step 1: Identify Where The Damp Is Coming From
Before you can fix anything, you need to find out where the damp is coming from. This is the most important step in the treatment of extreme wall dampness. If you only fix the surface but not the source, the problem will come back again.
There are a few common causes. One of the biggest is water coming in from the outside. This could be from cracked brickwork, broken guttering, leaking pipes, or roof problems. Water can travel through the walls and show up as damp patches, usually near windows, ceilings, or the bottom of the walls.
Another cause is rising damp. This happens when water from the ground moves up through the brickwork, usually because the damp proof course (DPC) is missing or damaged. You’ll often see signs like paint bubbling or salt marks along the lower part of the wall.
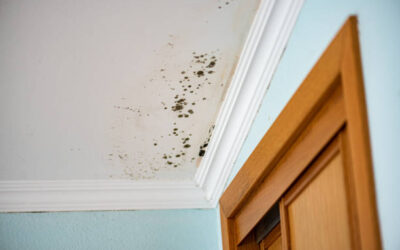
Condensation is also a big reason for wall dampness, especially in homes with poor air flow. You might notice this more in bathrooms, kitchens, or bedrooms where steam builds up. It shows as water droplets on cold walls and often leads to black mould.
To work out the cause, look at where the damp patch is and when it appears. Is it worse after rain? Does it get better when the heating is off? Is there mould nearby? You should also check outside the house for obvious signs of damage or leaks.
If you’re unsure, a damp expert can use special tools to test moisture levels inside the walls. This helps tell the difference between rising damp, penetrating damp, and condensation.
Finding the true cause is the key. Without this step, the rest of the treatment won’t work properly. Once you know the source, you’re ready to move on to stopping the damp from spreading.

Step 2: Dry Out The Affected Area Properly
Once you’ve found the cause, the next step in the treatment of extreme wall dampness is drying out the affected area. This may seem simple, but doing it properly takes time and care. You can’t just wipe the wall or use a heater for a few hours, the damp may go deeper than you can see.
Start by fixing the source of the moisture. If there’s a leak, get it repaired. If the outside wall is cracked, get it sealed. If poor airflow is the issue, improve the ventilation first. Drying the wall while the source of water is still active won’t solve anything.
Open windows and use fans to keep air moving. This helps moisture escape from the wall surface. In colder months, you may need a dehumidifier. These machines pull water out of the air and speed up the drying process. If you’re dealing with a badly soaked wall, a high-powered industrial dehumidifier might be needed, which a professional can provide.
Avoid covering the damp area while it’s drying. Don’t paint over it or put wallpaper on top. This traps moisture inside and makes things worse. Let the wall breathe.
How long it takes to dry depends on the level of damage. Some walls dry in a few days, but others can take weeks. Solid brick walls or those with thick plaster take longer.
Keep an eye on the wall as it dries. If damp patches stay the same or grow, it may mean the source hasn’t been fully fixed. In that case, it’s best to speak with a damp specialist to check again.
Step 3: Repair Any Damage Caused By The Damp
After the wall is dry, it’s time to fix what the damp has ruined. This step is important because damp doesn’t just make walls look bad, it weakens them. If you skip repairs, problems can return later or lead to bigger issues like rot or mould growth.
Start by checking the plaster. Damp often causes it to crumble, bubble, or break away from the wall. Any damaged plaster should be fully removed. Don’t just patch over it, it needs to be taken back to solid, dry material. Once the wall is clean and dry, you can re-plaster using a suitable damp-resistant mix.
Paint is another area that suffers. If the surface was painted while damp, you’ll likely see peeling or cracking. After removing all loose paint, use a primer made for damp walls before repainting. This gives better protection and helps stop the issue from coming back.
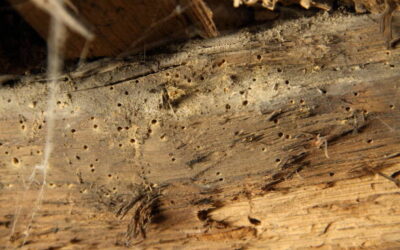
In some homes, the skirting boards or lower parts of the wall are also damaged. Check woodwork for swelling, mould, or signs of rot. If it feels soft or smells musty, it may need to be replaced. The same goes for nearby flooring, especially if it’s made from wood or laminate.
Don’t forget about insulation. In cavity walls or behind plasterboard, wet insulation loses its strength and can grow mould. If there’s been heavy damp, a specialist may need to check what’s inside the wall.
Every repair should be done after the area is completely dry. If you rush it, the new plaster or paint may trap moisture, and you’ll end up right back where you started.
Once the repairs are done, you’ve taken a big step forward. But to make sure the damp doesn’t return, you need to take action to protect your home long-term.
Step 4: Stop Future Damp With Simple Prevention Steps
Now that the damage is repaired, the next part of the treatment of extreme wall dampness is stopping it from coming back. Damp is not a one-time fix, it needs ongoing care to keep your home safe and dry.
Start by looking at the outside of your home. Check your roof for broken tiles, clear out your gutters, and make sure rainwater drains away from the house. Water that collects near the walls will soak through over time, so it’s important that the ground slopes away from your property.
Next, think about the air inside. Poor airflow is one of the biggest causes of damp, especially in bathrooms, kitchens, and bedrooms. Open windows daily, even in winter, to let moist air out. If that’s not always possible, install extractor fans in steamy rooms. A good fan in the bathroom or kitchen can make a huge difference.
Keep furniture away from cold outside walls. When furniture is tight against the wall, it traps moisture between the two surfaces. Leave a small gap so air can move freely.
Heating helps too. Sudden changes in temperature cause condensation, so it’s better to keep a steady warmth throughout the day rather than switching heating on and off. In very cold weather, leaving the heating on low can stop walls from getting too cold and attracting moisture.
Check for leaks under sinks, around toilets, or inside cupboards. Small drips over time can lead to large damp patches. If you find one, fix it straight away.
You can also use moisture traps or small dehumidifiers in problem areas. These are easy to set up and help keep rooms dry during damp seasons.
With these simple steps, you’ll be protecting your home every day.
Step 5: Monitor The Area And Act Fast If Damp Returns
After treatment and repairs, it’s important not to assume the problem is gone forever. One of the most overlooked parts of treating extreme wall dampness is what happens after the work is done. Monitoring the area regularly helps you catch any signs early if the damp starts to return.
Keep an eye on the wall where the problem first appeared. Check for any changes in colour, peeling paint, or patches that feel cold or damp to the touch. A musty smell is often the first sign that something’s not right, don’t ignore it.
It’s also useful to lightly touch the surface every week or two. If it starts to feel soft again, or you see marks forming, that could be the first warning sign. If you have a moisture meter, you can use it to check readings over time. Even without tools, simple checks can make a big difference.
Try to keep a record of any changes. Note down the date, what you’ve seen or felt, and what the weather’s been like. This can help you or a professional spot patterns, like damp returning after rain.
Don’t forget other areas of the home. If one wall had extreme damp, others might be at risk too, especially in older buildings. It’s a good idea to check corners, ceilings, and behind large furniture during your routine cleaning.
The key thing is to act quickly. Damp gets worse when ignored, and early treatment is always easier and cheaper. If something doesn’t seem right, don’t wait. Getting advice early can stop you from having to repeat the same steps all over again.
Let’s Give You Expert Treatment Of Extreme Wall Dampness Today
We understand how stressful it can be when you’re dealing with damp. It looks bad, smells worse, and makes your home feel cold and unhealthy. That’s why we don’t just offer advice, we offer real help. When it comes to treatment of wall dampness, we’ve seen it all and fixed it all.
We always start by looking at the full picture. We don’t just treat what’s on the surface. We find the cause, stop the spread, and make sure your walls stay dry for good. Whether it’s a leak, a ventilation issue, or rising damp, we’ll deal with it properly.
Our team works across Cheltenham and beyond, helping homeowners who want the job done right the first time. We don’t believe in quick fixes or guesswork. We’ll explain what we’re doing every step of the way, in plain English, so you’re never left wondering what’s going on.
You might be thinking, “Can I just handle this myself?” And for small cases, that might work. But if the damp keeps coming back, spreads quickly, or starts to affect your walls and flooring, it’s time to call us. We’ll save you time, money, and the hassle of trying to fix the same problem over and over.
If you’ve spotted signs of damp or just want peace of mind, we’re ready to help. Let’s get your home sorted so you can get back to enjoying it dry, warm, and safe.
Email us today at enquiries@dampchecks.co.uk to book your survey or ask any questions. We’ll get back to you quickly and talk you through the next steps.